|
Enter a unique integer value to identify the table. The value entered will be displayed on the table when in register mode.
On GoPOS, you may access the table and seats by pressing directly on the table when the dining area is displayed on the register. Selecting a seat will open up a new account for the chosen table and seat if it has not already been opened. Entering a seat number before pressing on a table key will allow you direct access to a specific seat on the table. You may also access the table by entering the table Id and then pressing on the Table Open/Add/Close balance function to open the balance for the specified table and seat. For example, to open Table #1 Seat #2, press on 1 dot 2 then on the Open/Add/Close Table function key. You may then add transaction items to the open table and seat. Once the transaction has been finalized, you may close the balance to return to the dining area view or continue with other transactions by pressing on the Table Open/Add/Close balance function key. If you need to add more items to a closed balance you will be allowed to reopen the balance until the account is fully tendered.
If inter-register communication (IRC) has been enabled, you will not be allowed to open a table seat if it is already open on another register. Please see Setting 15, Setting 16 and Setting 46 for further detail on setting up IRC.
|
 Table Mapping
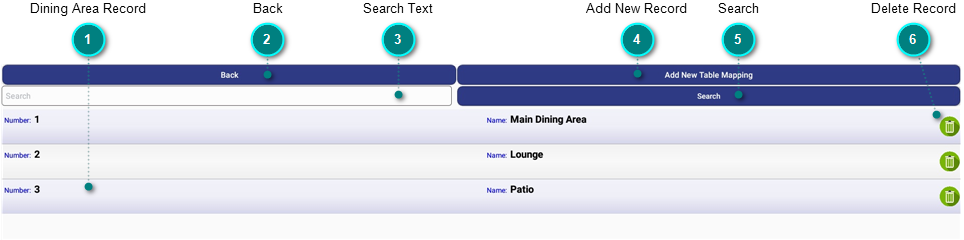


.png)


.png)